11 Ways to Get You into Your Best Downward Facing Dog

Downward-facing dog (Adho Mukha Svanasana) is such an iconic yoga pose that even those who have never practised yoga may recognise it. But don’t let the popularity of the pose fool you. Despite it being a fundamental building block in most yoga sequences, it is neither easy nor basic. Plus many of us have weak and abused wrists from our day jobs and persistent use of smartphones, tight hamstrings from sitting around too much, tight shoulders from typing away... Okay, you get the picture! So don’t worry if you feel that you struggle a little when you practise this pose especially in a fast-paced class. Let’s break this down and find out how we can make it better together.

Firstly, you can take comfort in the fact that you are by no means alone. Although considered a basic yoga pose, there is nothing basic about it. You are upside down, you're supposed to pull your body in different directions rhythmically, it stretches everything including the hamstrings and if you're not a ballerina, you may struggle. Secondly, let's make sure you are doing it right. Here's a great tutorial from the girls of The Seduction of Yoga.
In summary: -
- Hands should be shoulder-distance apart, rooting down through the base of the index finger knuckle to internally rotate the forearms. Squeeze the forearms straight. Roll the shoulders and upper arms outwardly away from the ears.
- The feet should be directly in line with the sit bones.
- To find the proper length in your downward dog, from hands to feet, come into plank pose, shoulders above wrists and heels on top of balls of the feet. Without moving the hands or the feet, lift the hips up and back and come back into Downward Facing Dog.
- You can shorten the stance by bringing the feet in towards the head slightly. This makes getting the heels down to the mat easier and supports the shoulders a little more, but tends to make the lower back round whereas the normal longer stance allows you to keep the natural inward curve of your lower back.
- Bending the knees and tilting your pelvis and buttocks up towards the sky helps create the inward curve in the lower back. Keeping that curve, begin to straighten the legs and stop till your back starts to curve (if at all) in which case you would work your Downward Dog with bent knees.
- Your core will support your spine in this pose. Drawing the lower belly up and in and drawing the ribs in, push the buttocks to the ceiling to make sure you still have the inward curve in the lower back.
- Hold for five full breaths.
Now we know the correct way to do it, what if we are still having trouble? Here are 11 modifications to Downward Facing Dog, dealing with 4 of the most common difficulties faced in this pose with the best modification for each one.
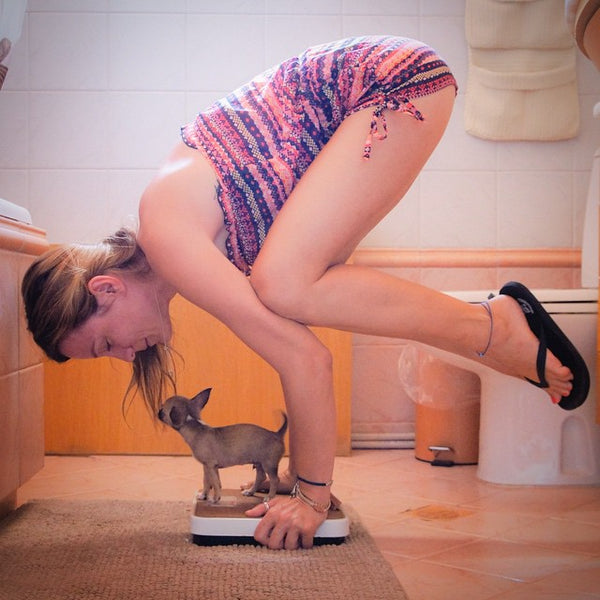
Problem 1: Sore wrists
This is the most common problem one may face in downward dog. In a typical Vinyasa flow yoga class, one could do around 30 Downward Dogs in the space of 20 minutes. You can literally hear your wrists begging for mercy. Although a lot of it has to do with the correct alignment of the hands and fingers (i.e. fingers spread and pressed down through the knuckles which makes the arms and shoulders work harder and takes pressure off of the wrist) some people still experience pain or discomfort. Here is a great article on how to prevent wrist injuries in yoga and below are some great modifications which your wrists will thank you for.
Modification 1: Dolphin arms

A popular modification and a very good exercise in itself, dolphin armed Downward Dog is a great relief for those poor wrists.
Modification 2: Use your fists

Not a commonly used one but a tried and tested alternative to alleviate tension on the wrists, make your hands into fists and plant them firmly into the mat instead, in place of your palms. You still get the full benefit of the pose without hurting the wrists. You can alternate between this method and palms between Downward Dogs.
Modification 3: Gel pads
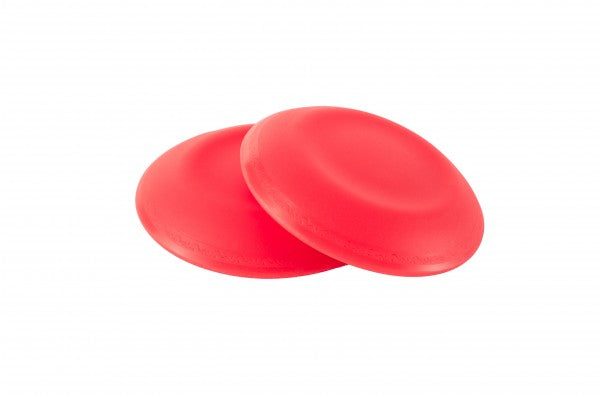
Yoga Jellies from yogajellies.com
Starting to gain popularity are these gel pads, which just goes to show how common a problem sore wrists can be when working out. Pace them under your palms and the cushion effect takes the brunt of the pressure meaning your wrists don't have to. These can also be used in an array of other poses such as Bakasana (Crow Pose) and handstand and can be placed under the knees also for poses requiring knees to the ground. Another option would be wrist support pads.
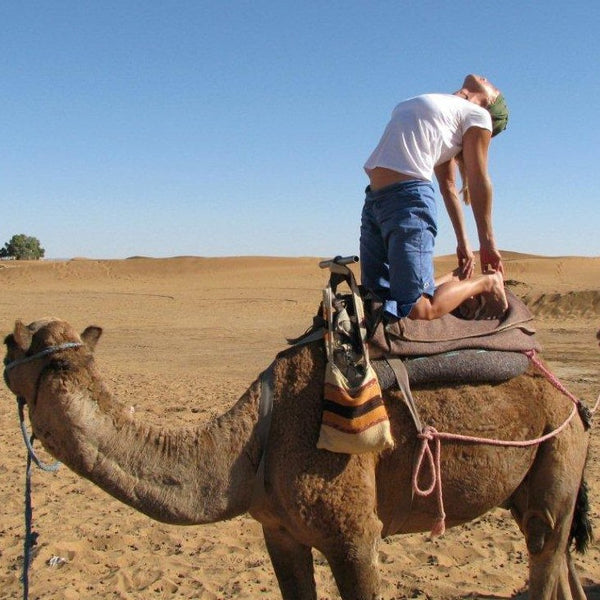
Problem 2: Tight hamstrings

How do these people get into Downward Dog so easily? For one, their hamstrings are probably made of play-dough. What if you, like most of us, don't have the longest hamstrings on the planet? Here are a couple of great, slight modifications you can do.
Modification 4: Bend the knees

You'll be surprised how much this tiny adjustment can do in making your Downward Dog a more pleasant experience. Just a normal Downward Dog with slightly bent knees. No more stretching of the hamstrings into oblivion.
Modification 5: Lift to tippy-toes
It's most commonly taught in Downward Dog to have the soles of your feet flat to the floor. Yeah, OK, teach'. What if I can't get them down? Try lifting to your tiptoes! It really helps take the pressure off the hamstrings and in fact, helps you imagine sending your bottom up to the sky more, so you get more of a deeper stretch of the spine. Score!
Problem 3: Slipping and sliding
We have all struggled with slipping in this pose at one point or another, especially those who have ever done hot yoga. Oh, the slipping! Apart from taking your time to adjust yourself comfortably in this pose (there is no rush and don't let anyone tell you otherwise), there are a few things you can do though to prevent slippage.
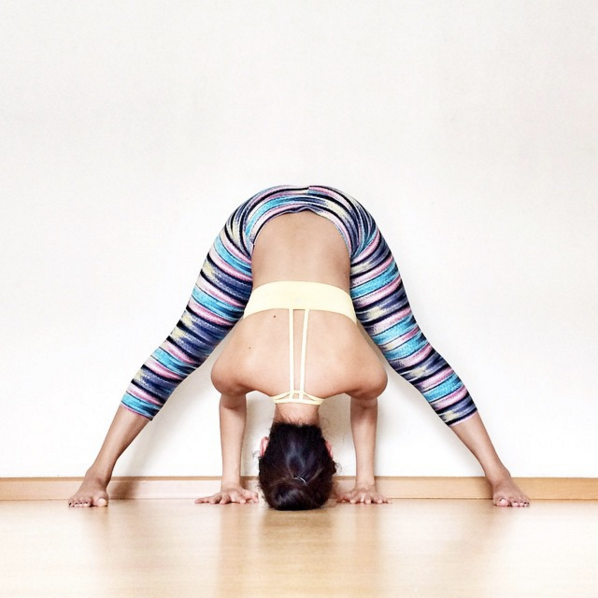
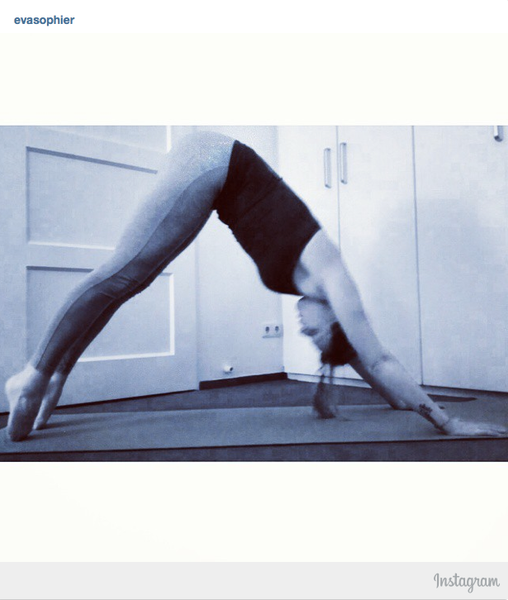
Modification 6: Make your 'Dog' wider or narrower

(OK, perhaps not as narrow as the young 'un above.) If it's comfortable for you, there is no law against widening or narrowing your Downward Dog a little. Move the hands or feet out a bit and see if the slipping stops. Alternatively, bring them in a little more. It might be just what is needed to stop you feeling like you will end up flat on your face at any moment.
Modification 7: Get a yoga towel mat

Increasingly popular and a favourite of our editor, Kat, who has sweaty palms (sexy!), yoga towel mats might be just the ticket to stop you slipping on your mat. They come in the same shape and size of your yoga mat so you just pop it right on top of your mat and get started. You can get them in all different colours and materials. Check out these 5 trendy slip-less towels.
Modification 8: Wear yoga socks or gloves

They may look a bit odd but you are sure to stay in place with these babies. You may find that you only need the socks, or perhaps only the gloves. There are many different styles, so do a bit see which ones you like best and are the best for your needs.
Problem 4: It's just too much!
Do you feel that you are OK in the first breath but come breath two and three, you feel you can't hold yourself up and start to fidget or even tremble and just want to skip straight to Savasana? It's fine. Here's what you can do when you get like that.
Modification 9: Don't hold the pose for all the breaths

Child's Pose (Balasana) modified for easier transition into Downward Dog
You don't have to strain so much. Hold for one or two breaths, come down into Child's Pose, keeping the toes still tucked under. Hold for one or two breaths, and then come up again into your Downward Dog for the last breath. This way you can gradually build up your strength in Downward Dog without forcing yourself.
Modification 10: Bring the knees to the floor

When you are in Downward Dog, place your knees to the floor or on a block or two. Push down through the hands and make your back as long and straight as possible. Even though you will be leaning on your knees, try to remember to keep the core engaged and suck inwards and upwards through the lower belly.
Modification 11: Use a wall, chair or stool

Use this variation and see if it helps. It certainly takes most of the pressure off of the hands and wrists. If you use a chair or a stool, make sure both the mat and the stool or chair are on the mat or a non-slippery surface mat so that there is no risk of it slipping away. Downward Facing Dog is an important pose and we're sure that you will be able to find the best modification for you in order to imperfectly perfect your own version of this fundamental and beneficial yoga asana. Once you feel you've got your Adho Mukha Svanasana down to a T, you can try these fun variations! What do you think of the above suggestions? Do you have any of your own to add? We'd be more than happy to hear from you.
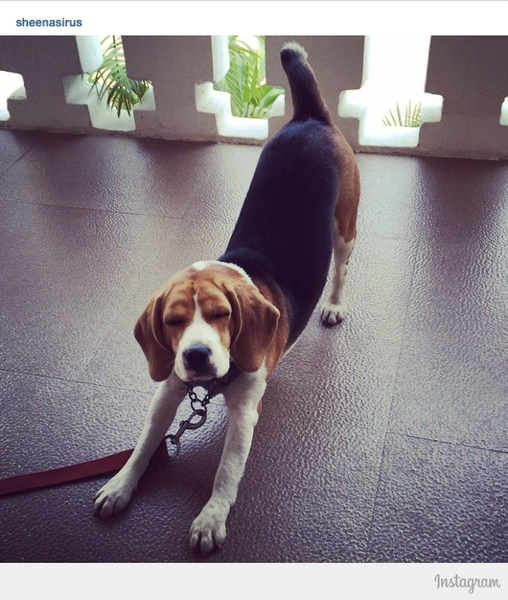
(Featured image via Sheena Padha)
Follow us for more free, high-quality yoga and mindfulness content... and subscribe to our mailing list below!
Don't forget to connect with us on social media (Facebook, Twitter, Instagram, Pinterest and Tumblr).
Also in Yoga Poses